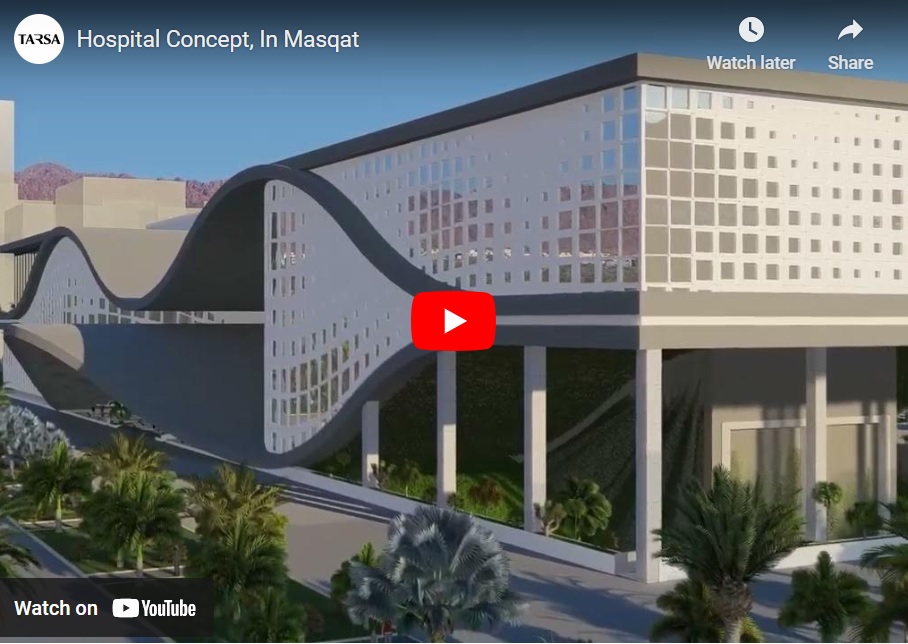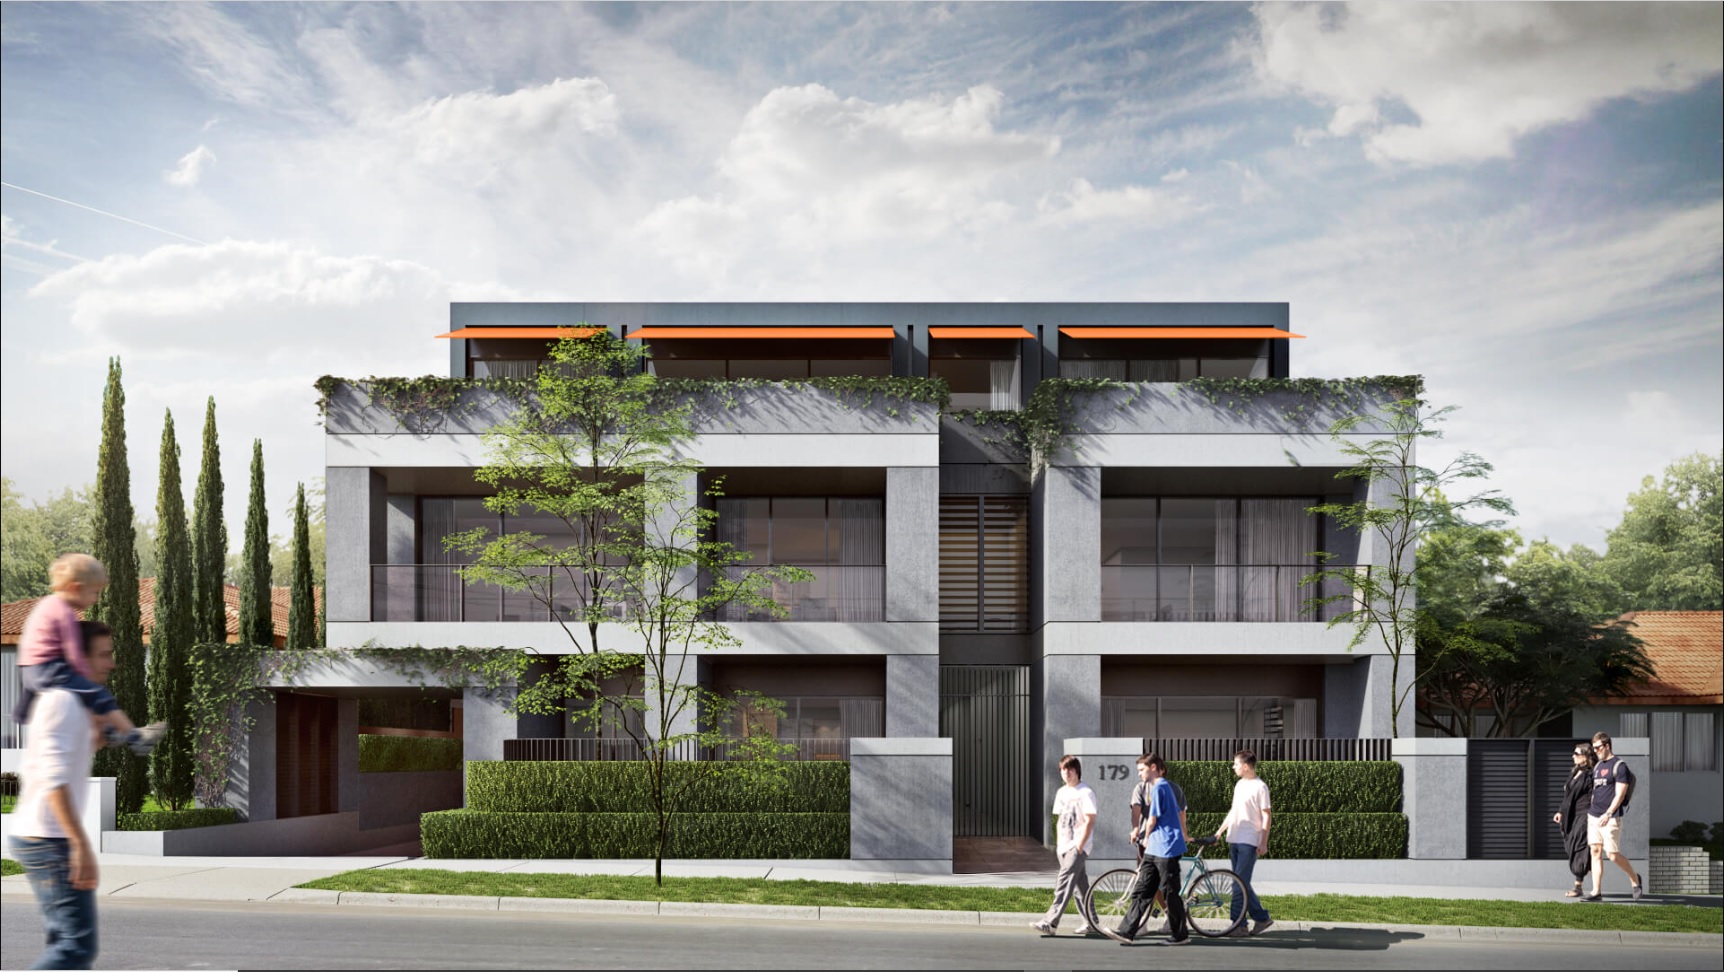
3D architectural animations have become an essential tool in the field of architecture and design. They offer a powerful way to visualize, communicate, and showcase designs by bringing them to life in an interactive and immersive manner. In this blog post, we will explore the process of creating 3D architectural animations, from initial concept to final output. We will discuss the various stages involved, the tools and techniques employed, and some tips and tricks to help you create stunning 3D animations for your architectural projects.
Concept and Planning
The first step in creating a 3D architectural animation is to develop a concept and plan your animation. This involves:
Defining the purpose and goals of the animation:
Determine what you want to achieve with the animation, whether it’s to present a design idea, showcase a project’s key features, or tell a story about the space. Having clear objectives will help you focus on the most important aspects of the animation.
Storyboarding:
Create a storyboard to map out the animation’s sequence of events, camera angles, and key frames. This will help you visualize the final animation and ensure that it flows smoothly and coherently.Creating an animatic:
An animatic is a rough, pre-visualization of the animation using simple sketches or 3D models. It helps you test the flow and timing of the animation before diving into the more time-consuming and detailed modeling and animation stages.
3D Modeling and Scene Setup
Once you have a clear plan and storyboard, you can move on to the 3D modeling and scene setup stage. This involves:
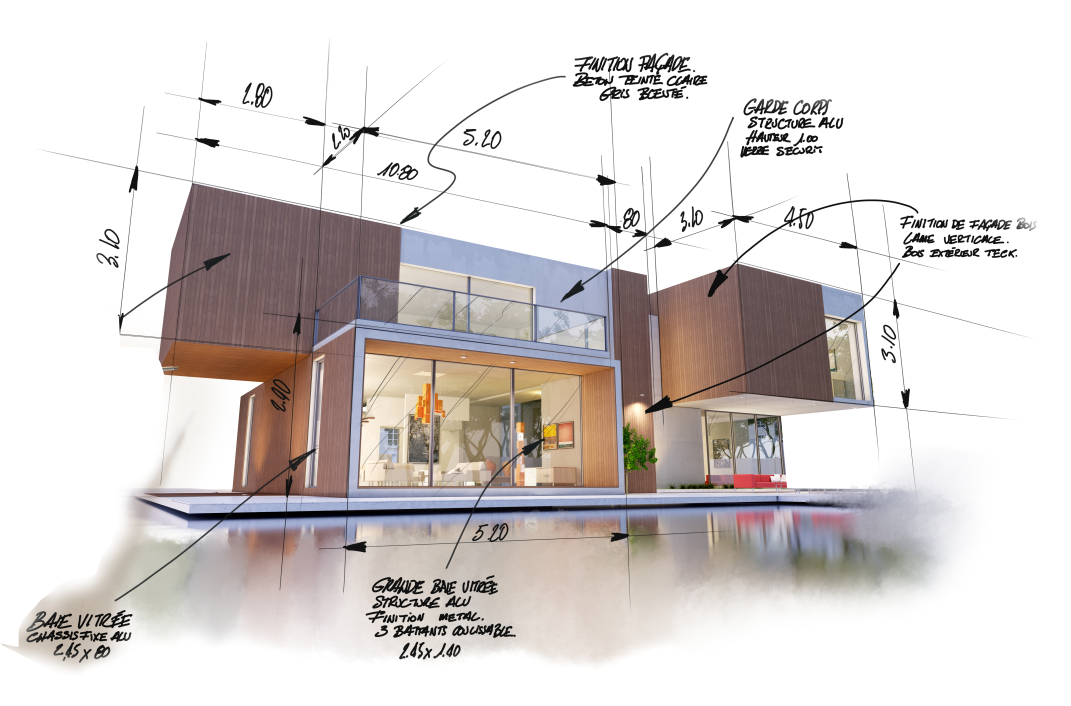
Modeling the architecture and environment:
Using your architectural plans and reference images, create 3D models of the buildings, landscapes, and any other elements needed for the animation. The level of detail required will depend on your animation goals and the intended viewing distance.Setting up the scene:
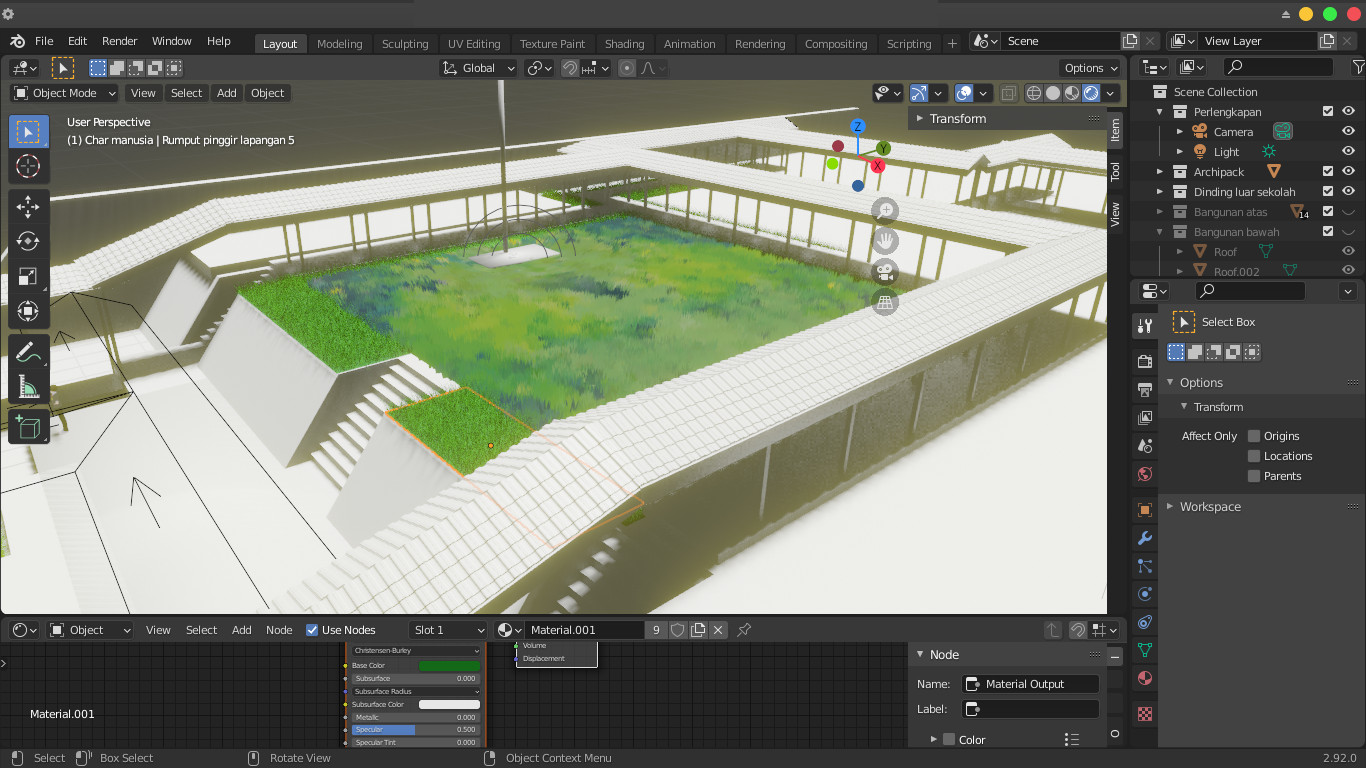
Import your 3D models into a 3D animation software, such as Autodesk Maya, 3ds Max, or Blender. Arrange the models in the scene to match your storyboard and animatic, making sure that the positions, scales, and orientations are accurate.Applying materials and textures:
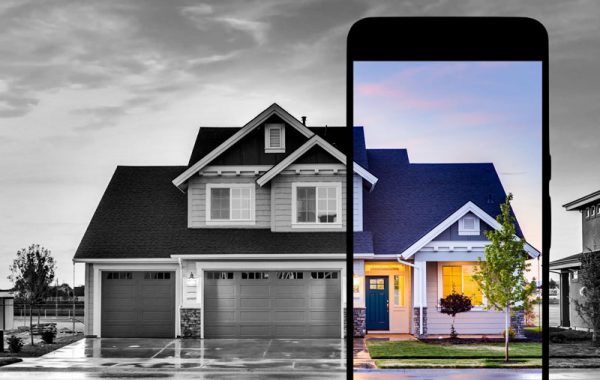
Assign materials and textures to your 3D models to simulate their real-world appearance. This may include applying color, reflectivity, transparency, and bump or displacement maps to create realistic surfaces.
3. Animation and Camera Movement
With the 3D models and scene in place, you can begin animating your architectural design. This stage involves:
1. Animating objects:
Animate any moving objects in the scene, such as doors, windows, or elevators, using keyframe animation or procedural techniques like dynamics or simulation.
2. Animating the camera:
Set up the camera movement to follow the path outlined in your storyboard and animatic. You can use a combination of keyframe animation, camera rigs, and motion paths to create smooth, cinematic camera movements.
3. Adjusting timing and pacing:
Fine-tune the timing of your animations and camera movements to ensure that they flow smoothly and match the pacing of your storyboard and animatic. This may involve adjusting keyframe positions, animation curves, or camera settings.
4. Lighting, Rendering, and Post-Production
After completing the animation, you’ll need to light, render, and polish your 3D architectural animation. This includes:
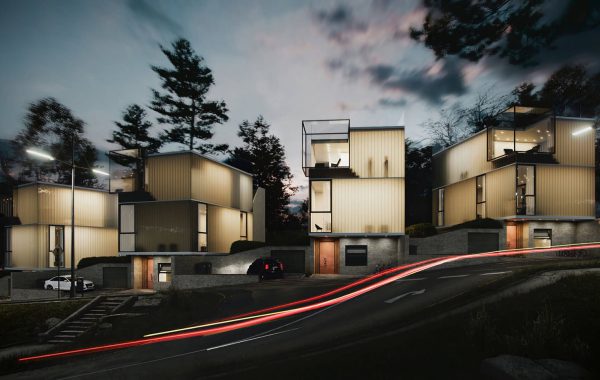
Setting up lighting:
Add lights to your scene to simulate natural or artificial illumination. Experiment with different types of lights, such as point, spot, or area lights, and adjust their intensity, color, and shadows to create the desired mood and atmosphere.Rendering the animation:
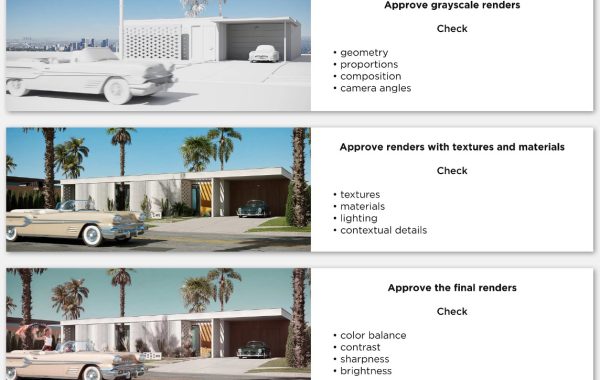
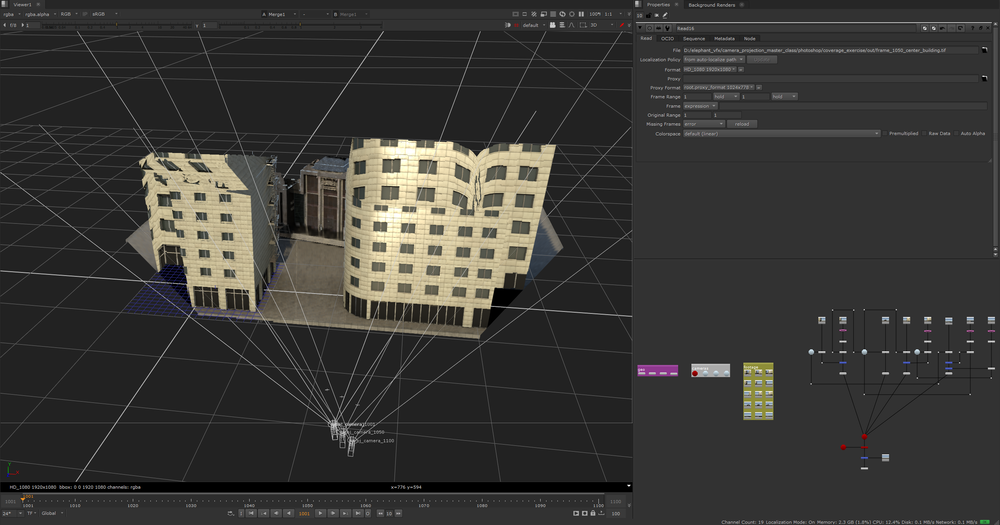
Configure your 3D animation software’s render settings, choosing the appropriate render engine, output format, and resolution. You may also need to enable features like global illumination, ambient occlusion, or depth of field to enhance the realism and visual quality of your animation.Post-production:
After rendering the animation, you may need to perform some post-production work, such as color grading, compositing, or adding visual effects. This can be done using video editing or compositing software like Adobe Premiere Pro, After Effects, or DaVinci Resolve.
Review, Refine, and Finalize
Finally, review your 3D architectural animation to ensure that it meets your objectives and is free of any errors or inconsistencies. Make any necessary refinements, and then render the final animation at the desired resolution and format. Share the animation with your team, clients, or audience, and celebrate your hard work and creativity!
In conclusion, creating a 3D architectural animation involves several stages, from concept and planning, to modeling, animation, lighting, and post-production. By following this process and incorporating a range of tools, techniques, and best practices, you can create stunning 3Danimations that effectively convey your architectural vision and captivate your audience. As you gain experience and develop your skills, you’ll be able to tackle more complex projects and create even more immersive and engaging 3D architectural animations.